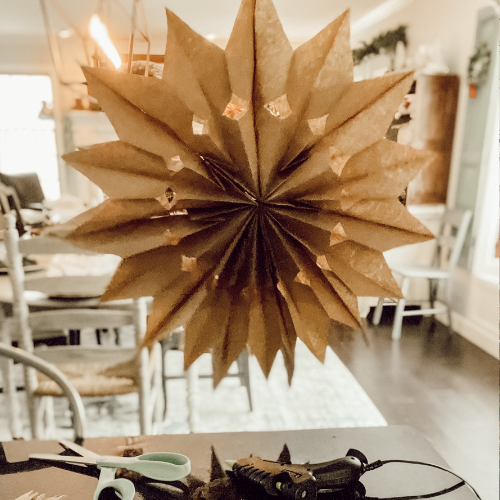
I am obsessed with these stars this year. After seeing these paper stars show up all over on Instagram accounts and knew I needed these in my life. I Set Out to Find out more about these Paper Stars.
I’m decorating at several upcoming events for the season and wanted to incorporate these beautiful simple stars into my decor. So I went online looking for the best prices. However, I felt like surely I could make them instead of purchasing them. So I searched Pinterest to see if anyone may have instructions on how to make them. The next dilemma I faced was, which tutorial shall I watch? LOL! So much Info on Paper Stars!!!
The Funny Thing is I found out so many of my followers on Instagram were also unaware of how simple these stars were to make. So I decided maybe the internet needs one more tutorial on Paper Stars. 🙂

Here’s How to Make A Paper Star
What you’ll need
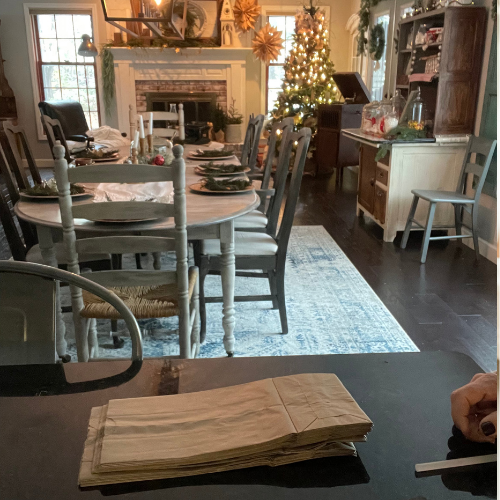
- 9 Small Paper Bags
- glue gun
- scissors
- paper hole punch
- string

How To make these Easy Paper Stars
- Start with 1 small paper bag
- WIth your hot glue gun, run 1 line of glue down the middle and both ways on bottom of bag, forming a T shape
- Take 2nd bag and press down on top of first bag, gluing them together
- repeat this process with all 9 bags
- After all bags are glued, cut at an angle from middle to top of bag on both sides into a cone shape
- In the middle of the bag cut a diamond shape on both sides
- run one more strip of glue down middle and bottom of bag
- open star and press open ends of bags together
- punch hole on top of bag to hang
Watch Tutorial Below
If you’ve ever wanted to try a craft, this one is a great one to start with. It’s so easy you’ll find yourself making them just for fun.
Pin to Pinterest
If you like what you see here save it to Pinterest
